 |
| Things have come a long way since early play testing! |
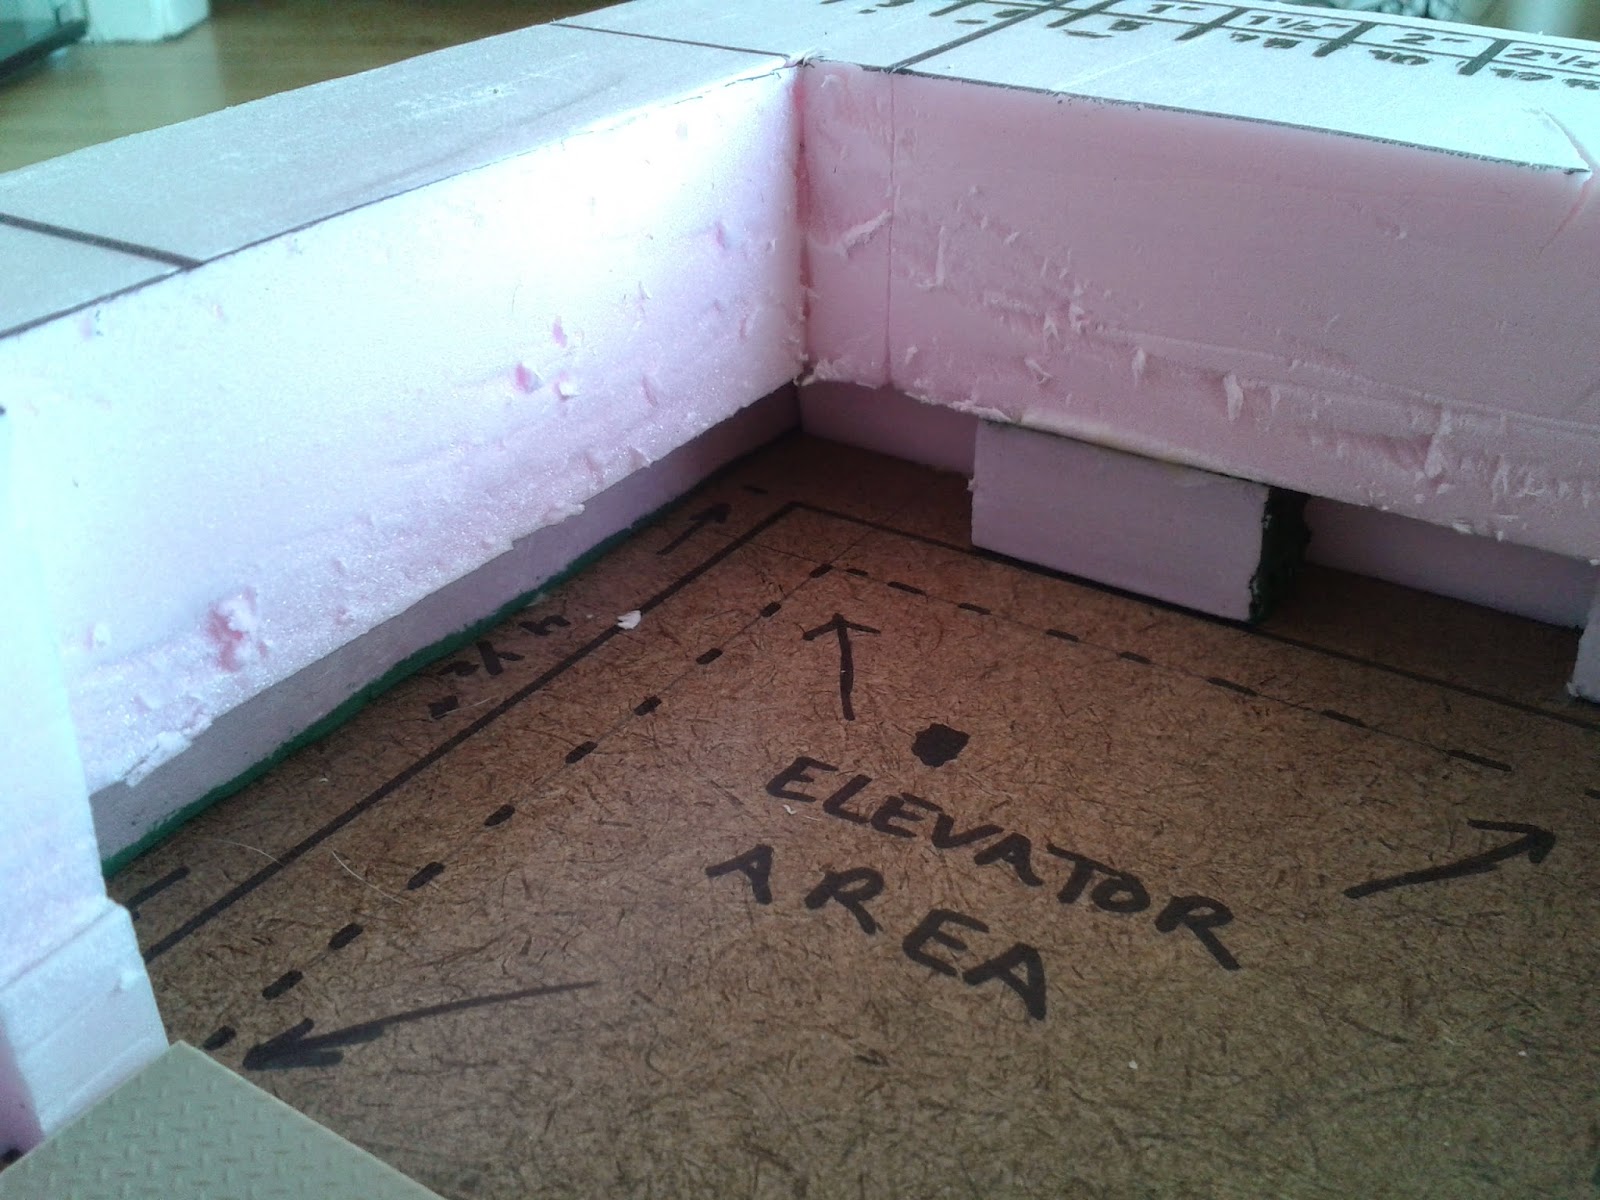
The elevator section needed to match up with my other sections. When I did my play testing prototype last year, I used up most of the space with a long hallway. I imagine I could have done that again but depending on how the other board sections might butt up to it, I was concerned about having a wall that wouldn't fit in with the "room and pillar" mine concept. To that end, I drew out my points like I was creating a four way intersection and I put where the elevator would land in the center. I wanted to leave some space to detail the shaft so I framed it with a 1/4" border on 3 sides. The 1/4" border on the front would be for the threshold between the elevator and the door.
With my plan made, I drew out my plan on my pink foam and cut it out.
Then I built it up on offcut foam to give it the same height as the other sections I've built, but I thought the gaps/recesses would add an additional level of detail when the piece is done. This is one of those "less is more" situations where I can use less supplies to my advantage.
Next I wanted to build out my elevator cab. I started by cutting out a 4"x4" piece of foamcore for my base.
Next I cut out a 4"x4" piece of tread plate plastic card. I cut it "inside the lines" to ensure it was slightly smaller than the piece of foamcore it will sit on.
As you can see, there is a faint white border around the piece.
Somewhere along the way I acquired this thick type of PVC board called "sintra". I used a couple of off cuts I had to build my walls. I used wood glue to bind it to the foamcore base, but used CA glue to glue the sintra pieces together. I also added a couple of girders in the corners to give it a little more strength. These were also glued with CA glue.
Now, with the base of the elevator raising the height of the elevator floor, I needed to raise the entryway as well. I took a few foamcore off cuts (I love my off cuts!) and cut them to 2 1/4". I drew a line at the 2" mark and then cut at a diagonal the remaining 1/4" to get a tiny ramp. Then I glued 2"x4" tread plate across the top to hold them all together.
Next I used wood glue to drop a 1/2" tread plate ramp down to transition from the floor to the elevator. In "real life" its not the most practical design, but when I worked in moving I encountered it. Ramps. Weird lips that acted more like speed bumps. They were all there.
 |
| The open topped dumpster I made out of a Wreck-Age Shipping Container and Plastruct. |
Before I wrap up for today I wanted everyone to see how much "freight" this freight elevator can haul. I wanted to make sure it could hold two Wreck-Age Shipping Containers and still hold a model on a 25mm round base, and it can.
The next stage is to shape the rocks into the foam, and since we've already covered that in detail we'll come back to this piece on Sunday when I add more details and paint it up. I'm always eager to hear from those of you out there reading this, so please leave your comments, questions, suggestions, and requests! Follow us on Facebook and Twitter and let us know what you think. On a final note, we got 4 new prototypes in the mail yesterday and I'm very excited to get them cleaned up and ship them off for casting. I hope you like them! Thanks for reading.
-Nick
 |
| Officer Tulson, Nells Turnbull, Officer Moerta, and Ari Gaylen. |
Making Mine Scenery Part I
Making Mine Scenery Part II
Making Mine Scenery Part III
Making Mine Scenery Part IV
Making Mine Scenery Part V
Making Mine Scenery Part VI
Making Mine Scenery Part VII
Making Mine Scenery Part VIII
Making Mine Scenery Part IX


Comments
Post a Comment